AI 3D modeling workflow: from prompt through retopology to clean export
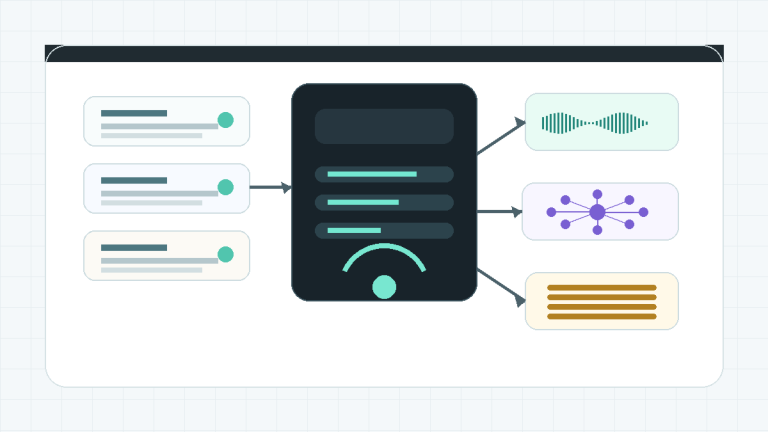
AI 3D modeling is not just writing a prompt and downloading a file. If the output should be used in a real project, it needs a process: brief, generation, technical review, mesh cleanup, textures, export, and documentation. Without that, fast generation becomes a messy folder of random models.
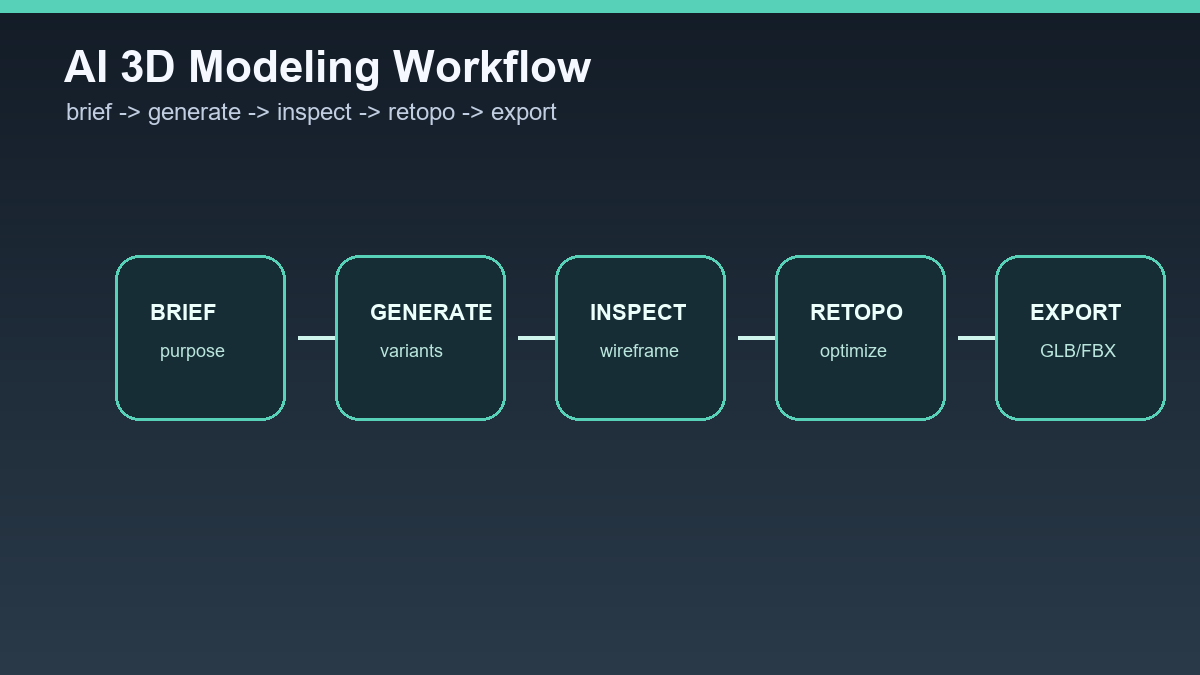
The goal of this workflow is to know what you can do with an AI model. Sometimes it remains a concept, sometimes a placeholder, sometimes a base for manual modeling. Only a smaller share of outputs reaches production without larger changes.
1. Brief as a mini production spec
Write the prompt like a short production brief. Include object, purpose, style, material, scale, and constraints. For example: "low-poly fantasy market stall, game prop, wood and cloth, clean silhouette, no text, no background, under 5k triangles". That kind of prompt is measurable and repeatable.
If you work from an image, prepare a clean reference. Remove the background, increase contrast, and avoid images where the object is hidden or merged with the environment. Otherwise the AI will guess parts it cannot see.
2. Generation and variant selection
Do not generate only one variant. With AI 3D, it is better to create three to eight drafts and choose based on silhouette, readability, and likely repairability. The model that looks best in preview may not be the most usable.
For every variant, save prompt, tool, date, and preview. It takes a minute, but later you will know why a specific asset was selected.
3. Blender review
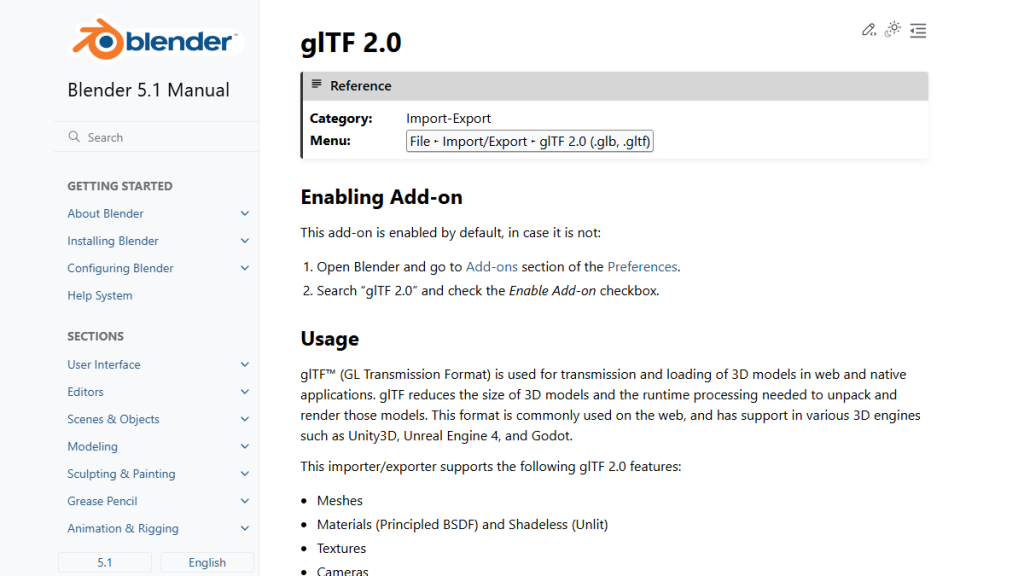
After export, open the model in Blender. Check wireframe, normals, scale, pivot, polygon count, UV map, textures, and hidden fragments. glTF/GLB exports are useful because the format is designed for transmitting and loading 3D models in web and native applications.
If the model contains unnecessary faces, broken normals, or too much detail, decide whether it is worth repairing. Sometimes it is faster to generate a new model with a better prompt than to repair a bad base.
4. Retopology and optimization
Retopology is not always needed, but it is important for game and animated assets. The goal is cleaner polygon flow, fewer triangles, and predictable deformation. For a static decoration, decimation, fragment removal, and material cleanup may be enough.
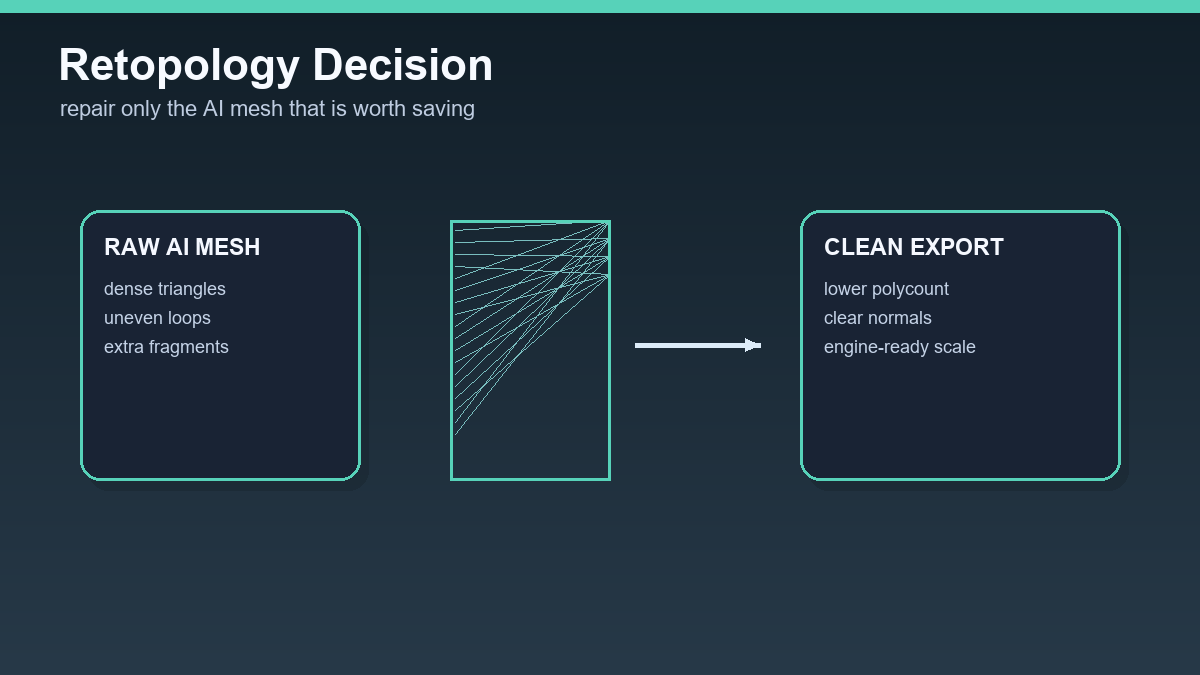
Set internal thresholds: how many polygons a small prop, medium object, and main character may have. Without limits, every asset has a different cost and project performance starts to suffer.
5. Export and documentation
Export based on the target. GLB/glTF is good for web, Godot, and general transfer. FBX is common for Unity and Unreal, especially with animations. OBJ is simple but carries less scene information. STL or 3MF is for 3D printing.
For every file, add a short record: source, license, prompt, version, review, target project, and notes. Documentation is what separates a professional workflow from random experimentation.
Checkpoints that decide production usability
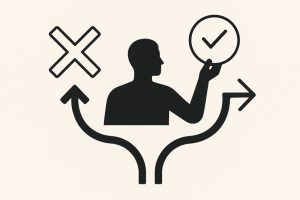
An AI 3D workflow needs a fixed point where you decide whether the model continues, gets regenerated, or remains only a concept. The common mistake is repairing a bad output for too long. If a model has chaotic topology, unreadable UVs, and unclear shape, it is often cheaper to go back to the prompt or input image.
- After generation: check silhouette, proportions, and major errors before polishing details.
- In Blender: inspect polygon count, normals, UVs, materials, and scale.
- Before export: choose the target format based on the destination environment, not the first option the tool offers.
For games, plan for LODs and collision. For product visualization, focus on materials, UVs, and consistent lighting. For web previews, GLB is often convenient, but only if the model is not overloaded with polygons and huge textures.
Useful links: Blender glTF manual, Godot importing 3D scenes, Unreal FBX static mesh pipeline.
Links in this article
Doporučení ke čtení